Build one
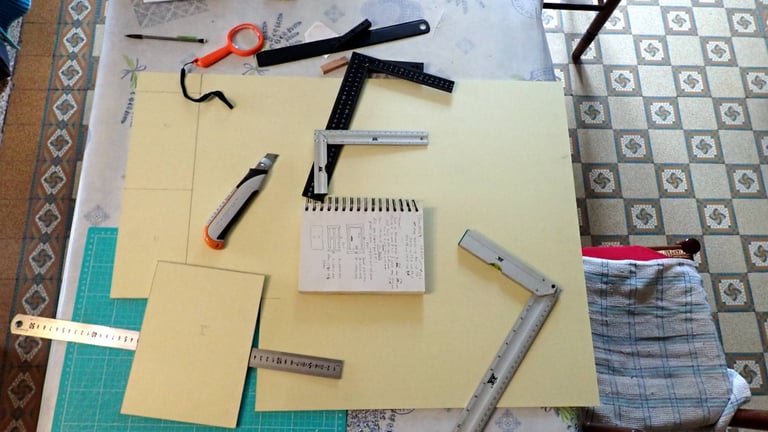




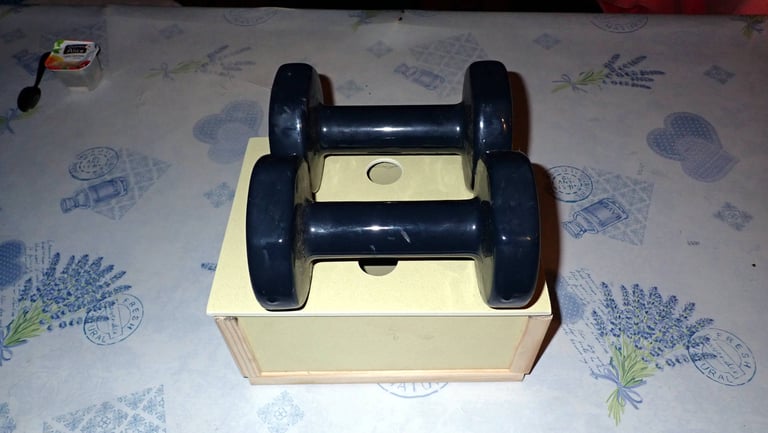




You don't need for many tools.
A cutter
One or two metal rulers
One or two squares
Graphite pencil
Plate of your selected material (here Xyktech)
Plans of the camera you'll build
Other useful tools:
Clamping pliers
Clamps
Frame press
Obviously some glue
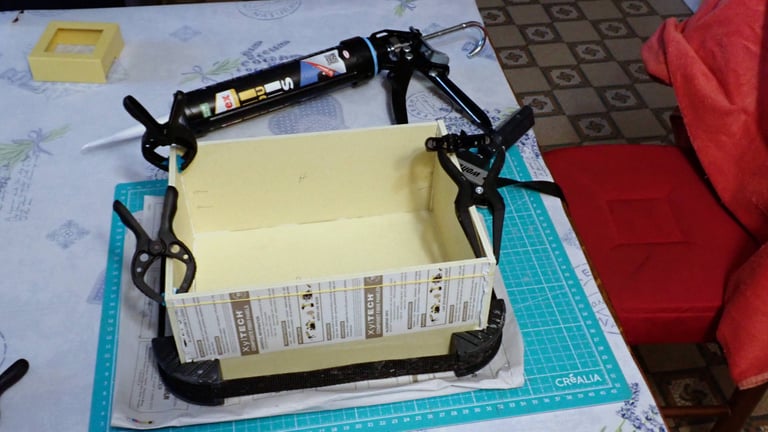
On this picture, gluing of an external box. Elastic bracelet is used in reinforcement to keep all square. Elastic bracelets are your friends ;-)
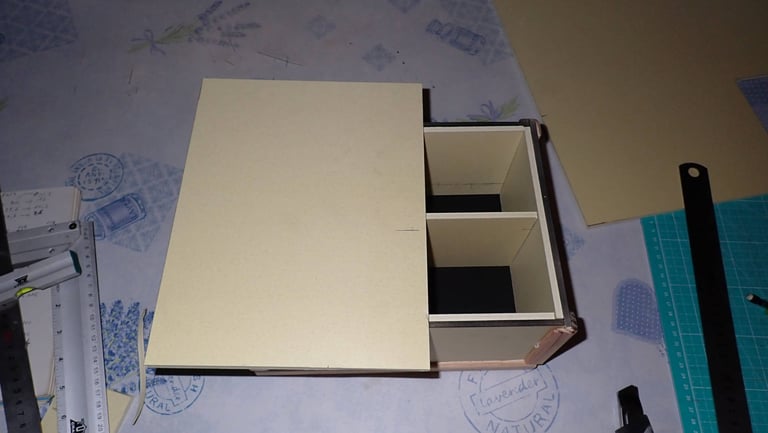
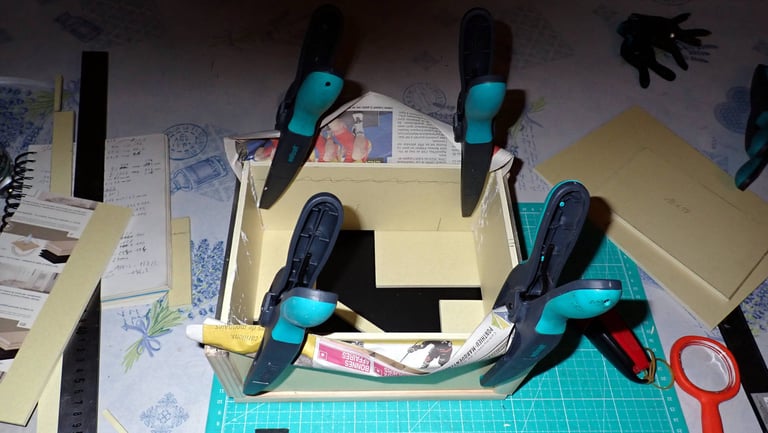
Internal box is glued inside finished external box. To avoid gluing them together I use a few pages of newspaper. This garanties no friction sliding and light proofing. Here it's a double pinhole camera (two photos on an unique photo paper). Internal wall is glued only after the box is dry. It's not a factory product, all measurements are made gradually, plan is just an indicator. On the left picture, residues are used to facilitate extraction of internal box. This way internal box is out by 5 mm.
It's rock solid...
Don't try this with foam or cardboard. With residues in the box, gluing is guaranteed good.
Pinholes in place
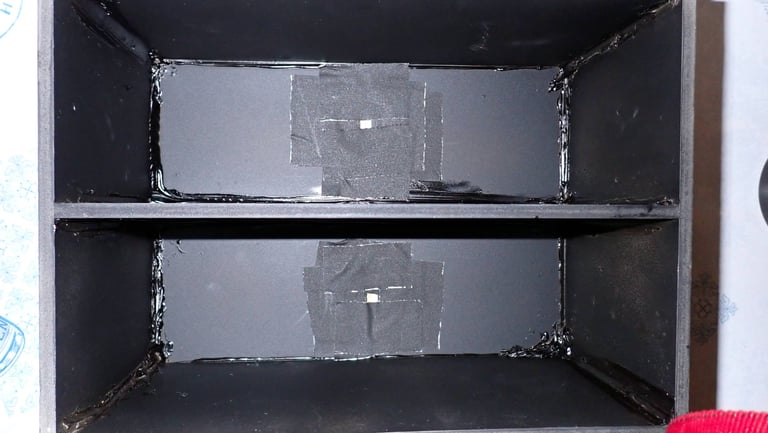
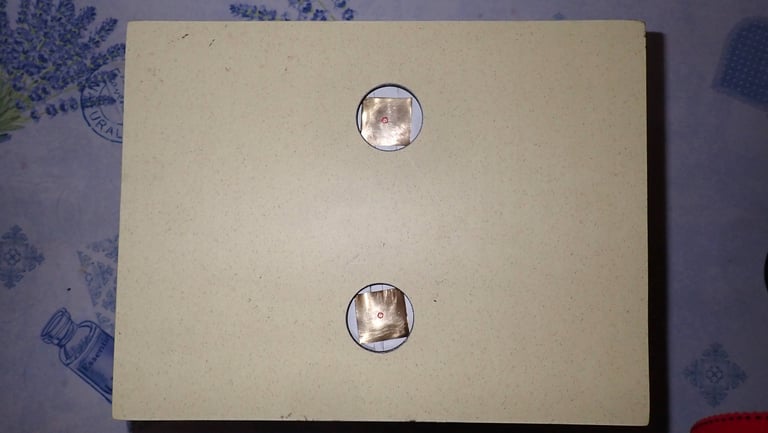
When internal box is painted and dry it's time to fix brass pinholes. They are fixed by gaffer. This way there is no light leaks and it's easy to disassemble if there is a problem.
Final draw
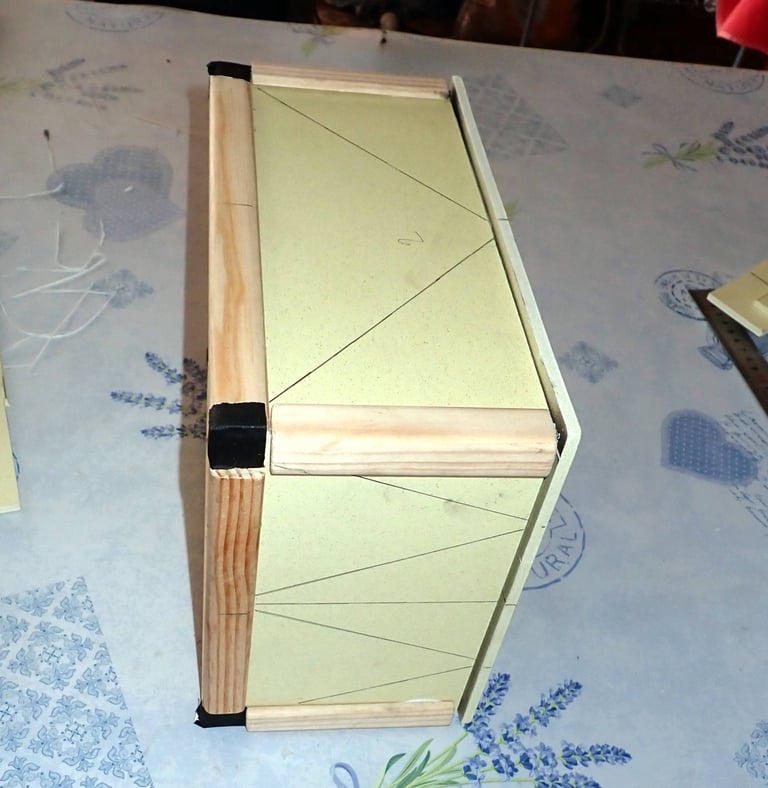
Ready to go on the field? Not yet. It's not useless to draw the vision lines.
As you see there is no wood stick inside, angle corners are enough to give solidity. A draw of glue in angles before paining is enough to be light proof. Black paint will cover possible little holes between surfaces.
And ultimately, after the field test:
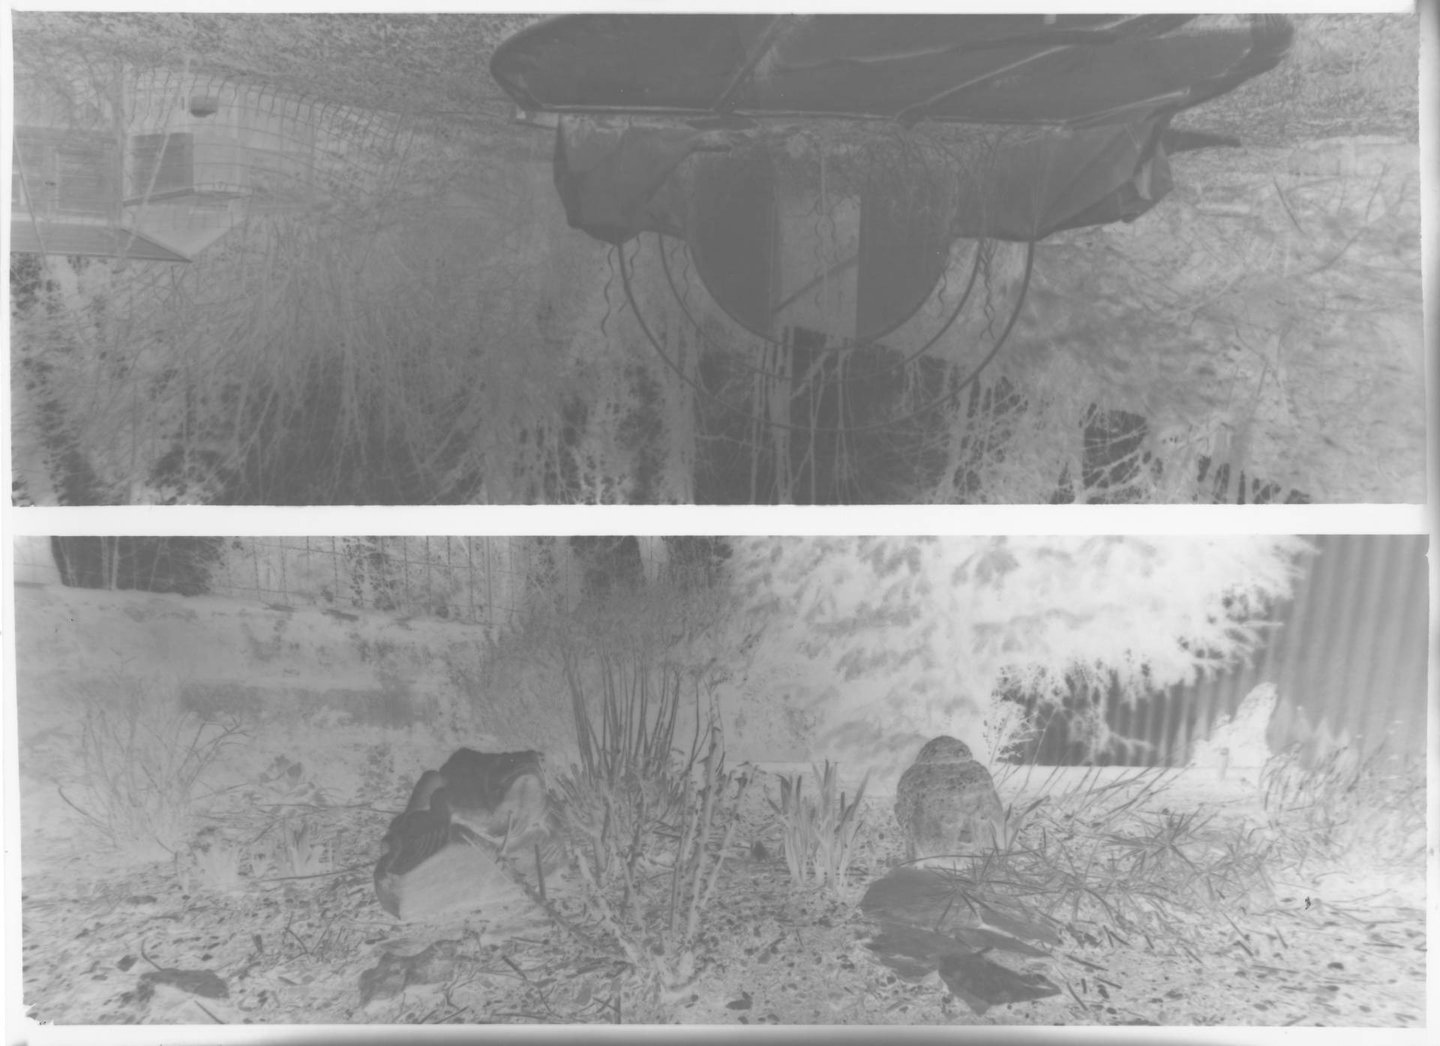

It works!!!
Nothing to roll around on the ground but no light leaks. When a chamber takes a photo, there is no leak in the other. It's the raw scan of the photo paper, one of the pinholes seems too large. Weather was awful, sun was playing with clouds, an other test is mandatory. If I need to change the pinhole, I'll do, the goal is achieved, take two photos with only one sheet of paper. And I like panoramic photography, double reward.
