What do I need?
A pinhole camera of course, and...
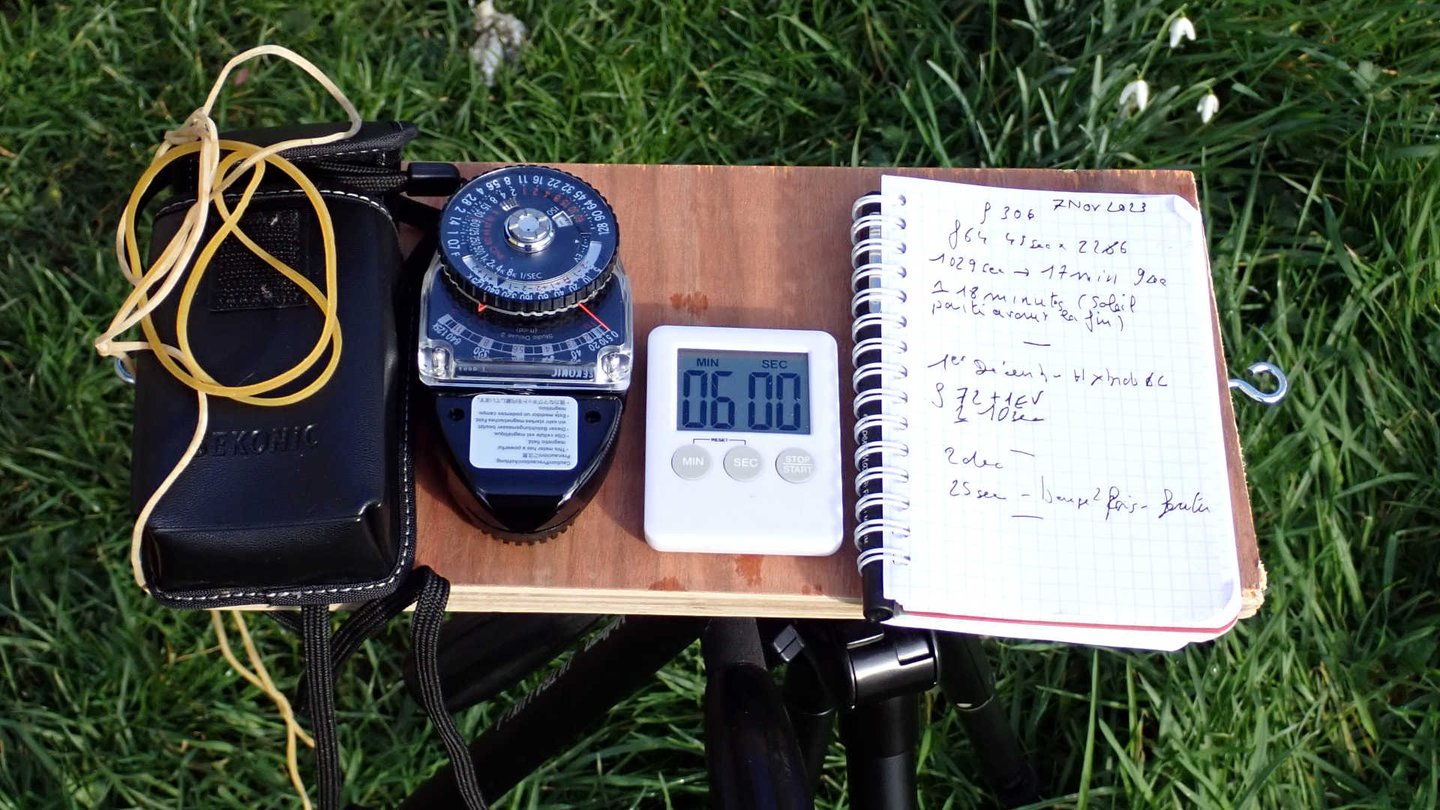
From left to right:
Elastic bracelets.
Light meter or camera for metering light from scene.
Timer.
Pocket calculator (not on this picture).
Notebook.
Elastic bracelets:
For "pinholer" it's a Mc Gyver tool. They keep the pinhole camera closed, keep the camera on the board or fix it on a support. You never have too much bracelets in your bag.
Light Meter:
With it you'll get a basic exposure time. You can also use a camera with aperture and exposure time indications. It's probably not enough, you'll need the K factor, or factor K (I'll be back on this later). If you have none of them Ilford (Harman Technology Ltd) offers you an exposure disk, available here. Thanks Ilford! Available on this site too, here. It's not as accurate as a factor K calculation but photo paper is tolerant, it will generally gives you good results.
Timer:
Exposure time for a pinhole camera can exceed 1 hour, especially with photo paper. Do you really want to count second by second manually? A timer is warmly welcome.
Pocket calculator:
So, you got the factor K but now you have to calculate the exposure time and here a pocket calculator is more than useful. It's not on the picture but it's ever in my photo bag.
Notebook:
Pinhole is not a rocket science nor an exact science, you'll get (sometimes) rotten photos. To know where it came from, note date, place, weather, exposure time for each photo and you'll have tools to discover what was wrong. Note everything you'll find interesting for each photo.
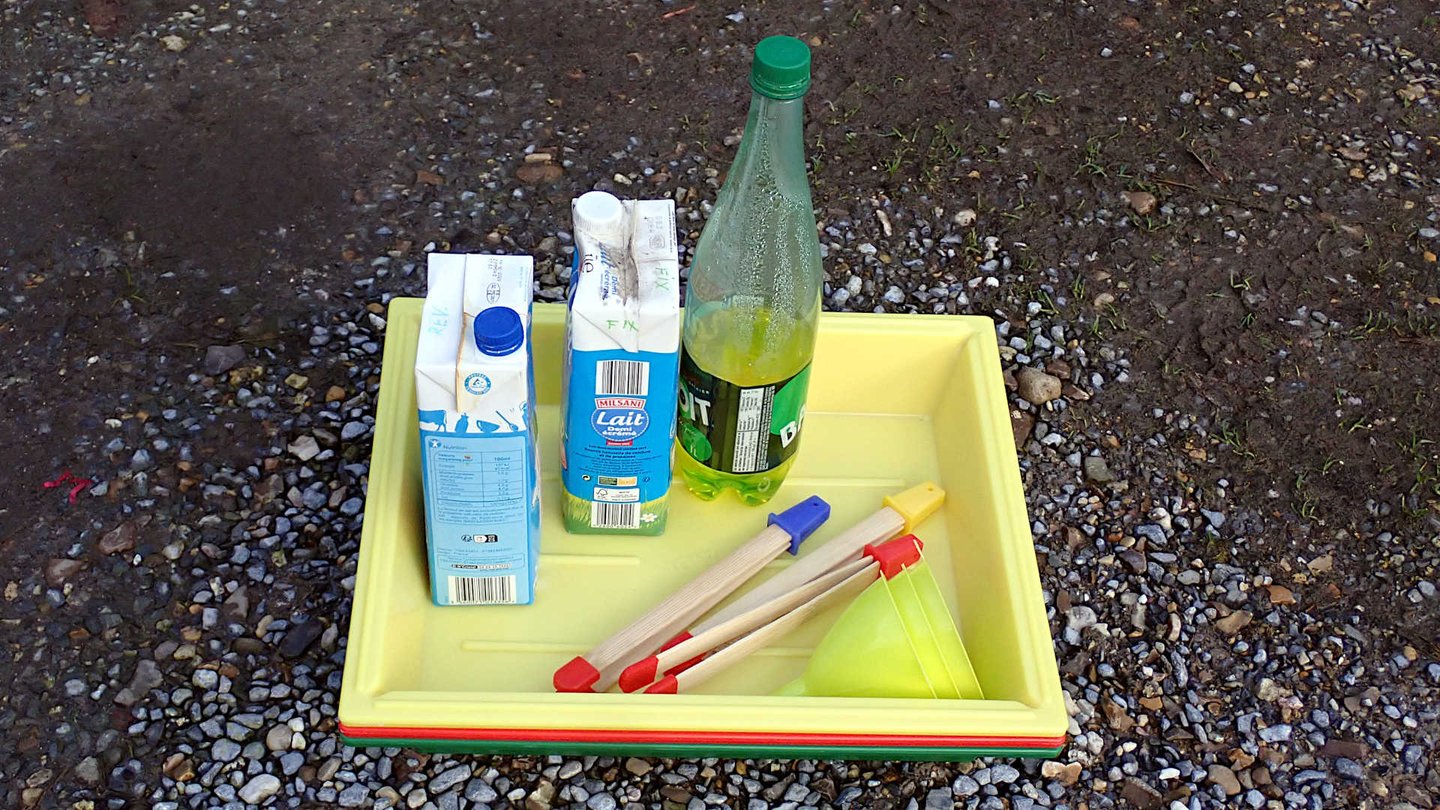
Essential "lab"
No more?
No more. Developing photo paper is extremely simple, in method and in essentials.
The only essentials are chemicals but not even all of them. You can use DIY developer (caffenol), Wikipedia. Stop bath can be vinegar and water, for fixer it's a bit more complicated but if you have some time it can simply be saturated salted water. You'll need at least two days...
I use myself chemical developer and fixer (Ilford Multigrade et Ilford Rapid fixer) and I'm very happy with them.
You'll need an other essential: a dark room. If you use film you'll need an absolute light-proof room and you'll work in total darkness. It's seems hard at first sight but if you know where are your hands, most of the job is done. For photo paper it's much more simple because we see what we do. You'll still need a light-proof room but you'll have a red light to help you to see what's happening. It's not a reading room but you'll see all your actions and you'll see the "magical" of developing. Photo comes from white paper to real picture under your eyes so you can decrease or extend developing time as will. If you're ready to only work at night, a simple water closet, a bath room, a kitchen, will do the job. You can't take photos by night with a pinhole camera, so, it's not lost time. From extracting photo paper from the camera to real photo you'll only need from 5 to 20 minutes, preparing and cleaning included. It depends of the number of photos you develop. After the fixing bath, one or two minutes, all you have to do is rince the print(s) with water and let dry. Done. Simple, fast and cheap.
Not essential but very useful
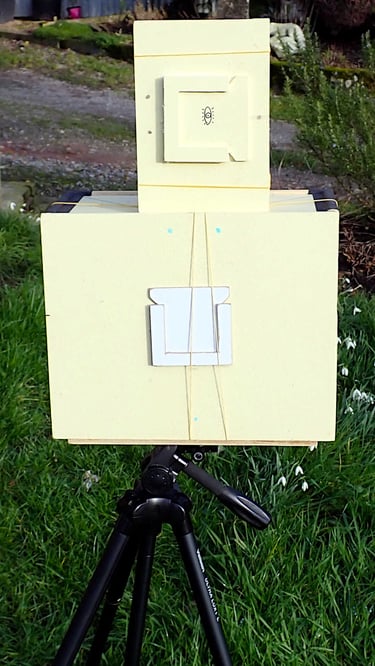
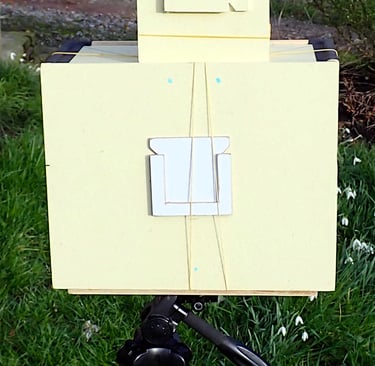
Little board:
This accessory will make your pinhole camera acrobat.
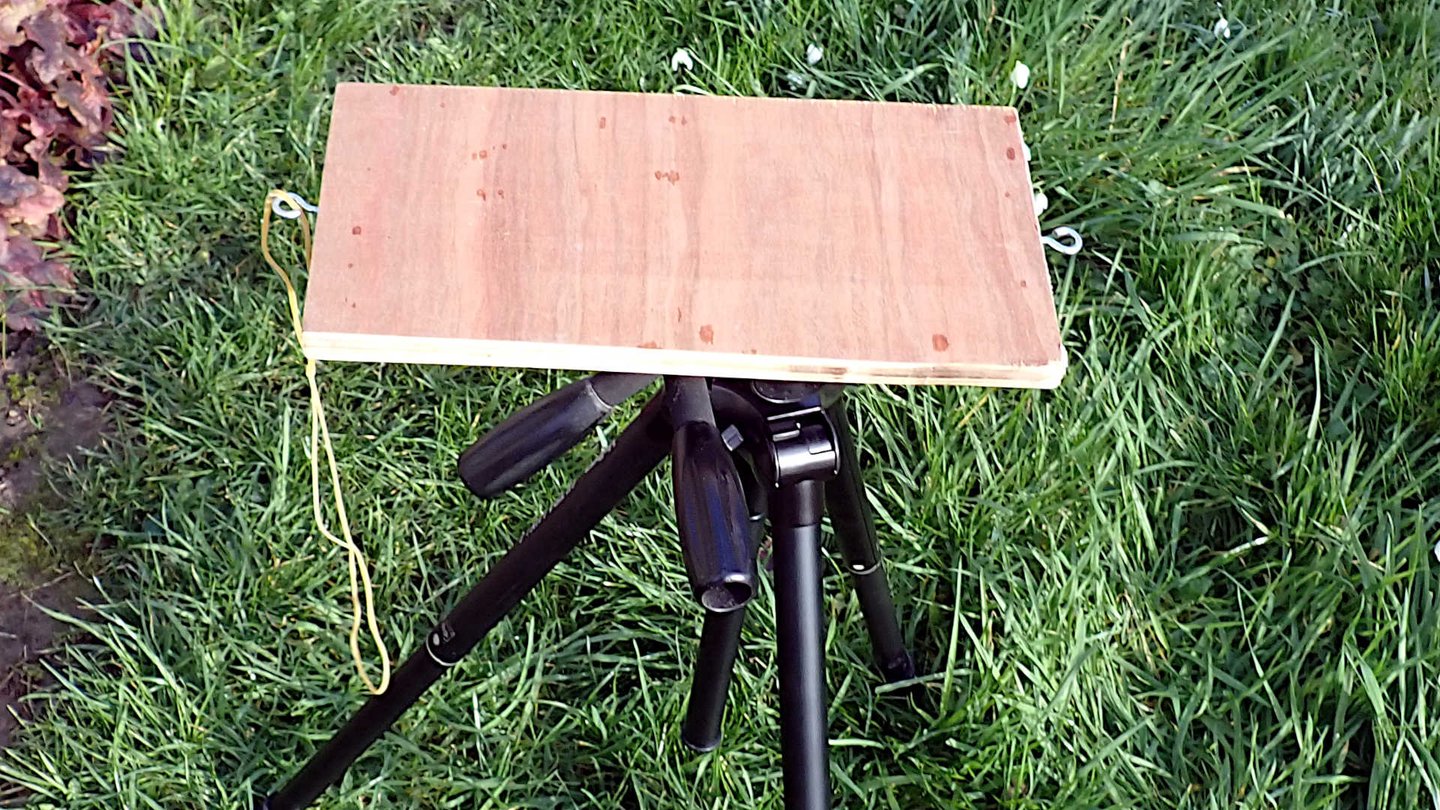
No tripod fixation nut on your pinhole camera? Too thin to get one? Too heavy? You want a stable fixation? The solution: a little board.
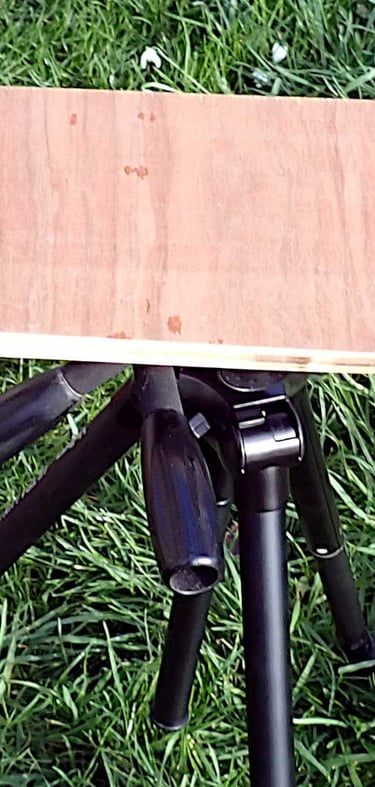
Just drill a blind hole in the middle of the board, put a nut for tripods and it's done. Of course you can put the camera on the ground or wherever it can sit but with the board and tripod you have access to fine tuning of composing your picture. On each side of the board put a curved head screw (see picture) and this way your friends elastic bracelets will keep the camera in place. One board is enough for all your pinhole camera team,, you can event put two of them on a single one.
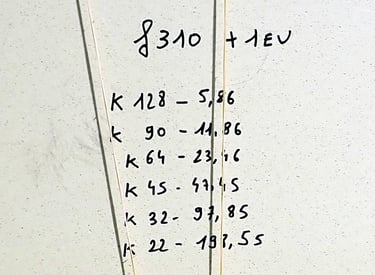
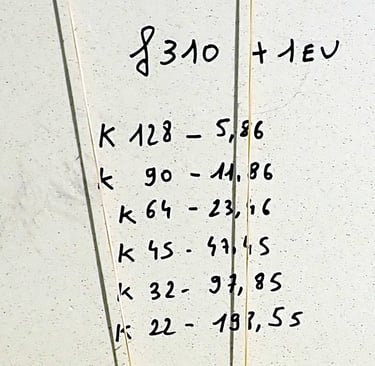
Factor K
I talked about factor K twice but not entered in details. It is nevertheless essential to know the proper exposure time of your pinhole camera.
Light meters and cameras usually don't know how to deal with very poor sensitivity of photo paper (1 to 3 Iso) and very low apertures of pinholes. They are made for "classic" cameras and/or films. Most of classic cameras can deal up to f:/16 when pinholes can go up to f:/300 and more. In term of Iso sensitivity a classic camera usually give up under 50 Iso. So, how to convert a "classic" light measurement for use on a pinhole camera? Here comes the factor K.
When you get the f number of your pinhole (we'll see that later), you can calculate the factor K.
The formula::
K= (F pinhole camera / F light meter) squared.
F pinhole camera is the number you have calculated or the number written on your purchased pinhole.
F light meter is what is told you by your camera at the tiniest aperture (at Iso of your support), usually f:/16 for DSLR's and up to f:/128 for light meters.
Exemple, your light meter says 1 second for f:/16 and 6 Iso and your pinhole has an f:/250 aperture. Factor K will be (250/16) squared, 244 and some dust. Get 244. So, exposure time for pinhole camera will be 244 seconds (time * K), 4 minutes and 4 seconds. BUT, light meter is at 6 Iso and pinhole is at 3 (1EV difference), I need to double the indicated time so now exposure time for the pinhole is 8 minutes and 8 seconds, say 8 minutes and 10 seconds. That's why I prefer a light meter instead of a camera because high difference in Iso means more calculus and it's not linear. Want to know more about this translation? Go here. To avoid headache, Ilford disk is a precious help. My light meter goes down to 6 Iso, I use a 3 Iso paper, I write all the factors K behind my pinholes, add 1EV to the measure, I just have to multiply the time given by the light meter by the factor K and I have the right exposure time. Easy.